
It's bread baking day today! It has been a really really long time coming. I've carefully nurtured my sourdough starter for two weeks, feeding it twice a day and keeping it not too warm and cozy but definitely cozy and not cold. I've watched the video from breadtopia.com (about 500 times) which I HIGHLY suggest. So here we go...
You can read all about my sourdough starter experience here. After about two weeks (and finding a weekend in which I had a free 22 hour window to rise and bake the bread), I gathered all of my bread making stuff together.
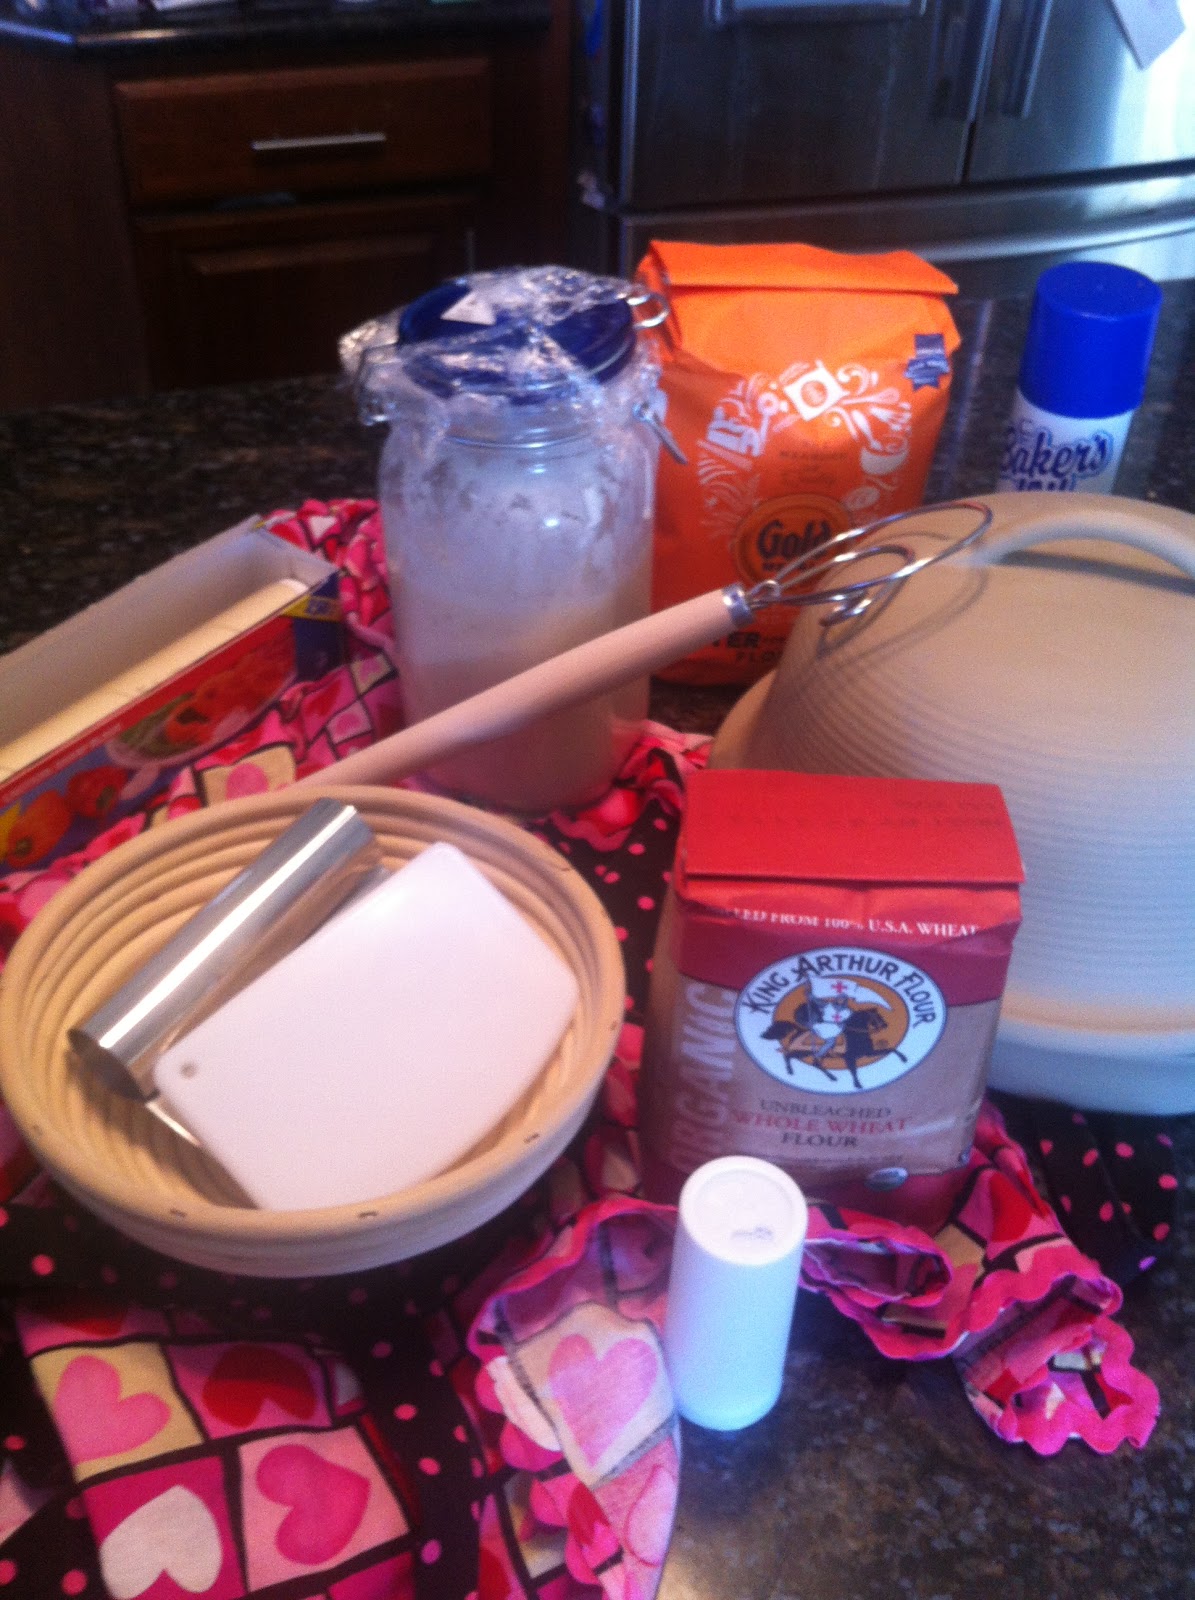 |
| My bread-making stuff. Gathering everything together is actually an important first step for an adult ADHDer. You don't want to be in the middle of something and have to madly search for something like wheat germ (which you might notice is missing from the picture). NOTICE the fancy apron from my fancy-apron-making days! |
Step 1: Mix your ingredients
No-Knead Sourdough Bread Recipe
1 cup whole wheat flour2 1/2 cups white bread flour
1 1/2 teaspoon salt
1 1/2 cup purified water
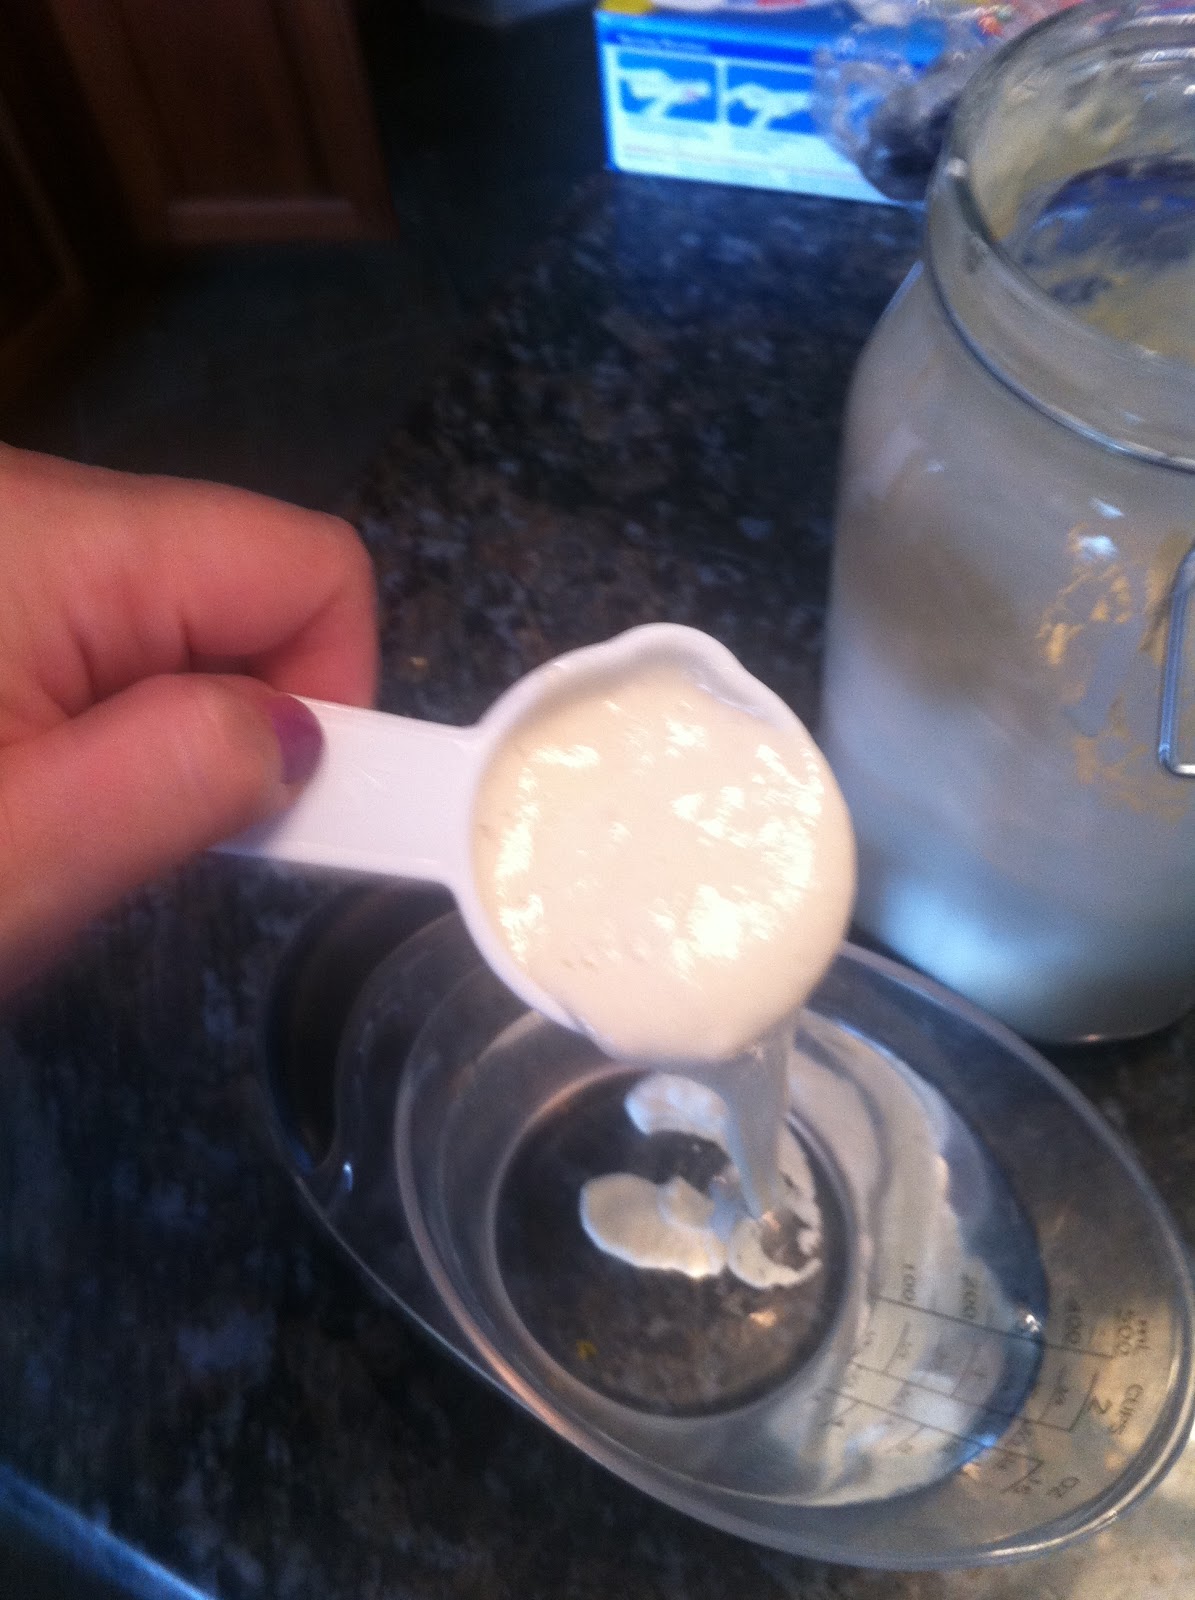
1/4 cup sourdough starter (stirred down)
Mix your flours and salt in a separate bowl. Stir down your starter and measure out approximately a 1/4 cup. Stir into the water then pour into the flour mixture.


Mix with a large whisk or spoon till the water and flour is all incorporated. I had to ditch the whisk at the end and use my hands.
 |
| Once your dough is mixed, gently form into a ball, cover with plastic and let rest for 18 hours. |
Step 2: Final Proofing
 |
| 18 hours later - look how much the dough has risen! |
 |
Scrap it out from the bowl onto a well-floured bread board. It will be really wet and sticky so flour your hands as well.
Gently make it into a rectangle and then fold into thirds and then over again so that it forms a ball. Cover with plastic and let rest for 15 minutes.
With the metal scraper, carefully lift and place into your proofing basket. 
You need to spray the basket with cooking spray and generously sprinkle with wheat germ - otherwise the wet sticky dough will forever stick to your rattan basket.

Cover with a cloth for final proofing for 1-2 hours.
Step 3: Baking - Finally!
Sometime during the last 30-40 minutes of rising, preheat your clay baker and oven to 500 degrees.

You'll know your dough is ready to go when you gently poke it and it doesn't spring back but stays indented. Look how much it has risen!!
When your oven is heated and your dough is ready to go, PUT ON YOUR OVEN MITS and carefully dump the bread onto the base of the clay oven. I did not get a picture of this because I needed both hands to transfer it and really I am not talented enough to take a picture when both hands are being used in a 500 degree oven.
Bake for 30 minutes at 500 degrees. PUT YOUR OVEN MITS BACK ON and take off the lid. Change your oven temperature to 450 degrees and continue baking for 15 minutes. Take it out, put it on the rack for a couple of hours and enjoy your bread!!!! YUMMMMM with LOTS of butter!! Yummmmm!
|
No comments:
Post a Comment